| ProLinga Tutorial |
|---|
It is time to put some objecs on the screen.
Since the Glade XML format is used to store and render screens, it makes sense to use the Glade User Interface Builder to design the screens. The ProLinga Developer calls Glade to make this painter available for the ProLinga environment.
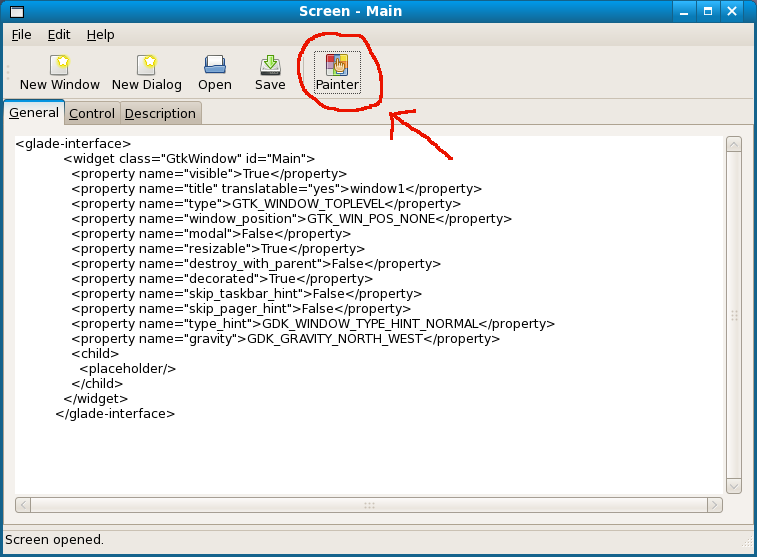
Open the screen "Main" in the screen editor and press the button "Painter
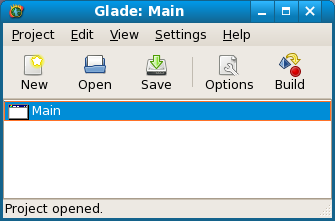
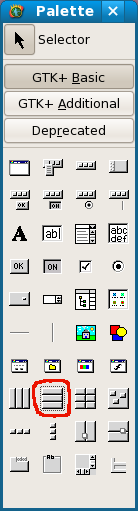
The Interface Builder Glade now starts up. Besides the main application frame of Glade, two other windows (properties window and palette) are displayed as well. To bring up our screen "Main", go to the main frame of the painter and double click on the line "Main" as the following example shows.
Since our initial screen is empty, it make come up initially very small in the painter. Look for the small screen.
To resize the screen, simply click on the edge with the mouse and make it bigger.
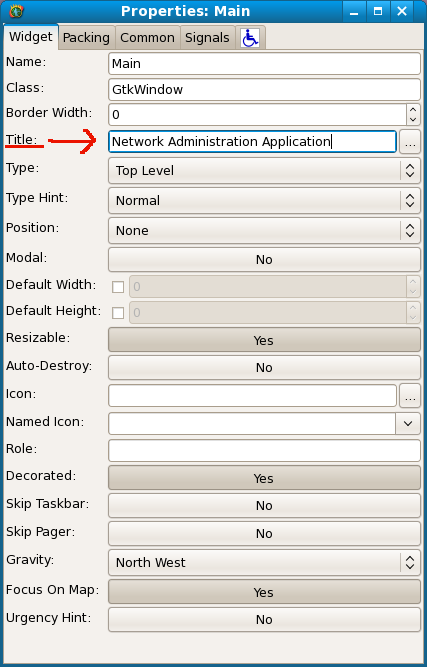
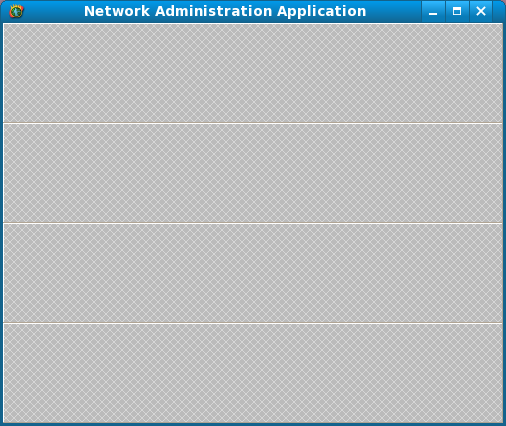
To set the title of the window, edit the field "Title" in the properties editor. To get there, select the screen "Main" in the main frame (same line we double clicked on earlier) and details of the screen become availabe in the properties window. Change the text of "Title" to "Network Administration Application".
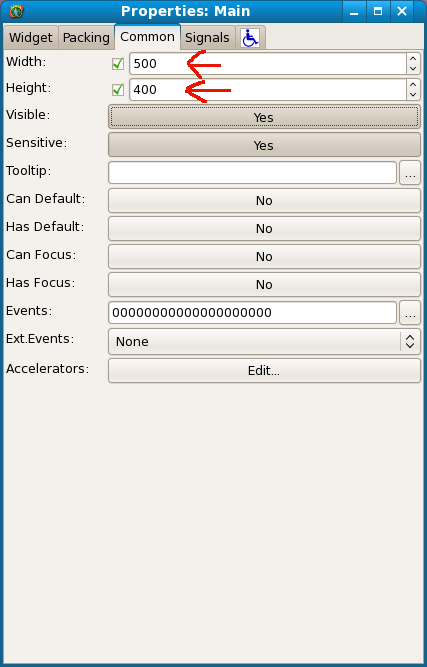
Click on the tab "Common" and set the width of the screen to 500 and the height to 400. This will set the minimum size of the screen. Users will still be able to increase the size or maximize the screen.
Leave all other fields default in the properties window of screen "Main".
We will keep the screen simple and want to see four horizontal sections on the screen:
Glade provides numerous ways to build up your screen. Everything can be dynamic, fixed or a mix. We are using a method that when a user resizes the screen, the objects on the screen will be resized too.
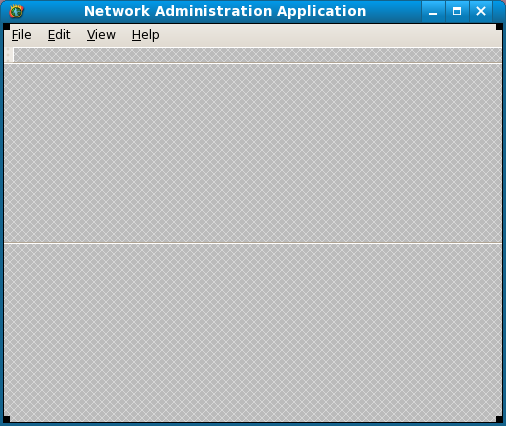
To get the four sections on the screen, start by placing a "vertical box" on the screen. The way to place objects on the screen is to select them from the palette window and then click on the place where you want this to be on your screen. Bubble help will help you identify the various objects. Click on the "vertical box" button and then click on your window. When asked for the number of rows, change the default (3) to 4 and press the OK button.
Your screen now should look like this:
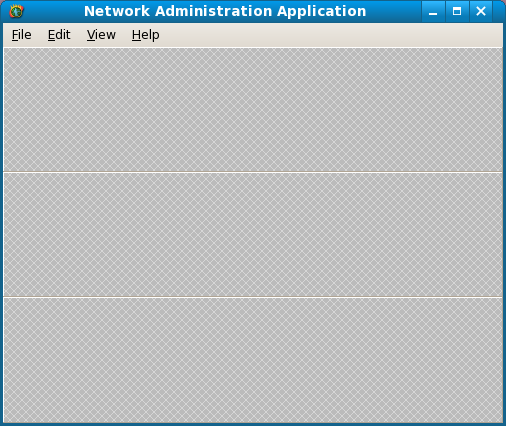
Now we can get the objects in place. The first section should be our pulldown menu. Click on "Menu Bar" on the palette and click on the first section on the screen. This will put a default pulldown menu in place. We will put in the correct menu details later.
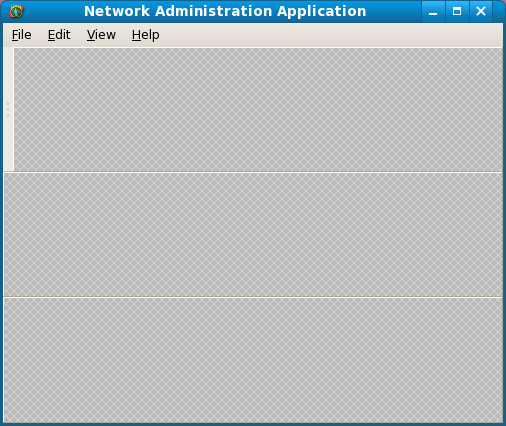
In the second section, we want a toolbar that we want to be able to move freely. Therefore we first have to put the object "Handle Box" in place.
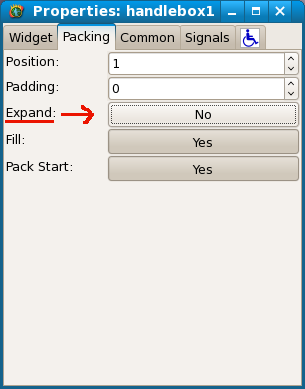
The "Handle Box" looks very big, so we have to prevent this from expanding. Click on the "Handle Box" on your screen (and NOT in the palette) and the properties of the "Handle Box" appear in the property window. Click on the tab "Packing" and change the setting "Expand" from "Yes" to "No".
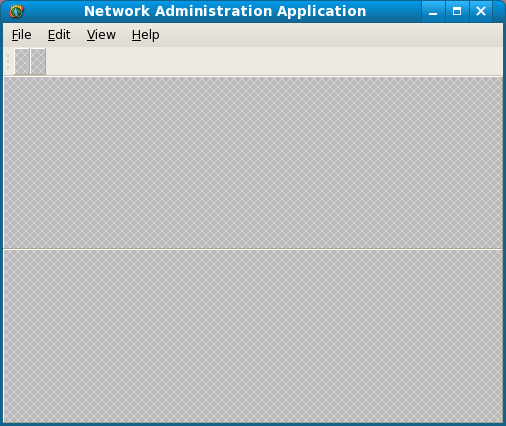
The "Handle Box" now looks as follows:
Now place the "Toolbar" in the empty space right next to the "Handle Box". When asked for the number of items, change the default (3) to 2.
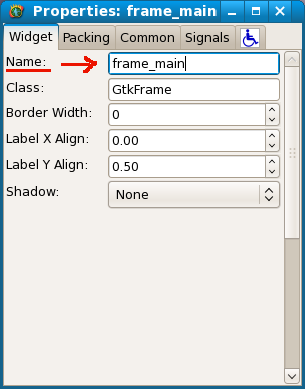
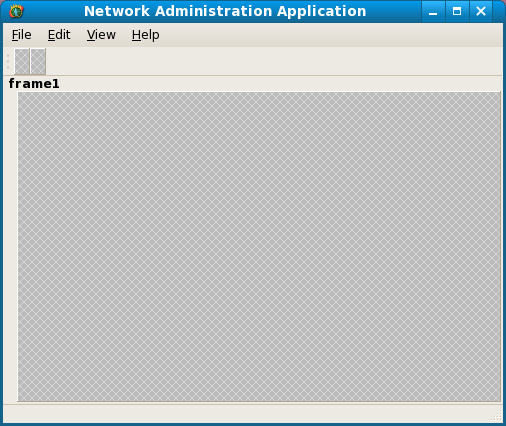
We put the object "Frame" in the 3rd section. It is important to give it a name, so we can use it in later exercises to present another screen in this frame. After placing the frame on the screen, go to the properties screen of this frame and set Name to "frame_main".
Finally, place a "Status Bar" in the last section. The screen now looks as follows:
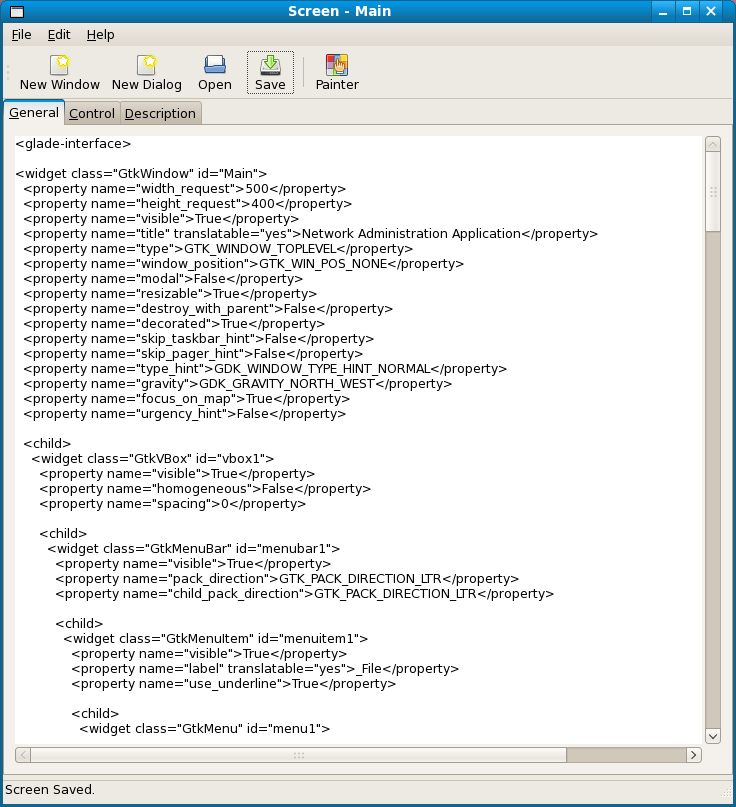
Save the screen. Go to the main frame of Glade and press the "Save" button. You will see a message in the status bar "Project saved". Now exit the painter by clicking "Quit". You will return to the Screen Editor in the ProLinga Environment. You will notice that the XML in the Screen Editor has been updated automatically. Press "Save" to save the screen. If you do not press Save here, your changes will be lost!
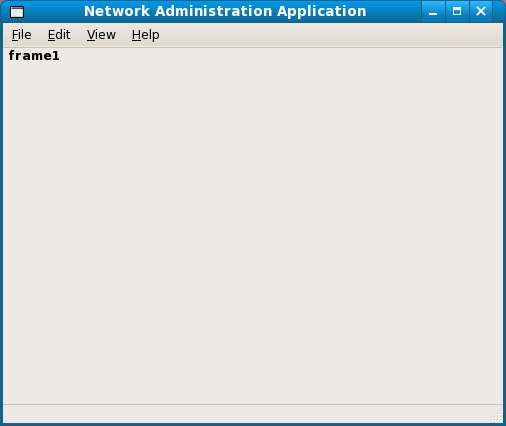
Now run your application. Logon as an end-user (guest) and application
netadm. If all went well, you will have the following screen.
We see the pulldown menu, the frame, the status bar and since there are no buttons yet on the toolbar, we
can't really see the toolbar yet. We have not linked any logic yet to any pulldown menu option, so nothing will
work yet. Press the "X" in the right top corner to exit the application and logon again to the ProLinga Developer
and open application netadm. Proceed to the following chapter.
| << Run Application | Populate Pulldown Menus >> |