| ProLinga Tutorial |
|---|
In the next couple of chapters, you will learn how to create a data entry screen and how to get the data from and to your database. In a previous chapter "Create the data source" we created a data source (or channel if you like) to our database, which we called "netadm". In this external data source, we enter details as the name of our database that we want to use and the details to logon to that database. Now we have to link into this channel from within our application.
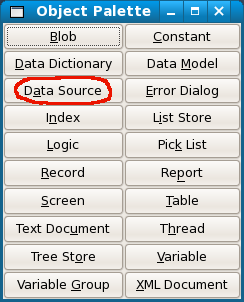
Bring up the "netadm" application in the ProLinga Developer and select "Data Source" on the object palette.
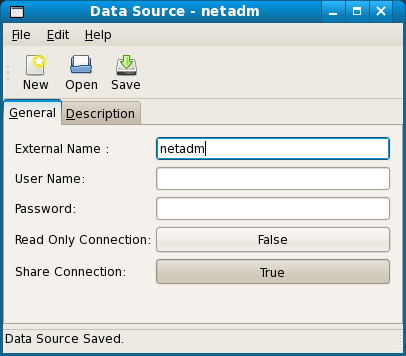
In the Data Source editor, press the button New and enter "netadm" in the field
"External Name". This is the name of the external data source. Leave all other fields as they are. The field
"User Name" here refers to the user name to be able to access the data source itself and not the user name
needed to access the database. That last user name has already been defined in the external data source.
Save the data source and name it "netadm".
Tables that you will create in further chapters and that use the data source "netadm", will now use your preferred database as data provider.
| << About Screen | Logon to Data Source >> |