| ProLinga Tutorial |
|---|
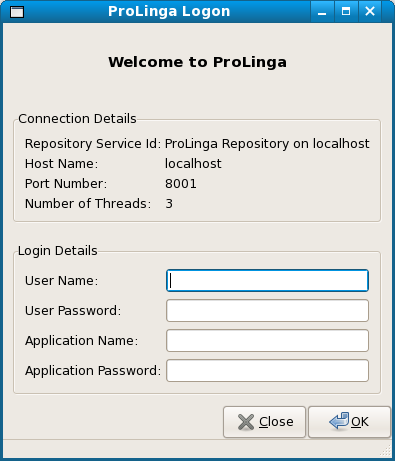
To get to the ProLinga logon screen, type the following at the command line:
$ prolinga4gl
The ProLinga logon screen as shown below appears.
You can logon to the ProLinga environment as 3 types of users:
In this tutorial, you are going to create an application netadm.
Therefore you first have to logon as the administrator user and define this application. On the
ProLinga Welcome Screen, type administrator in the field "User Name" and
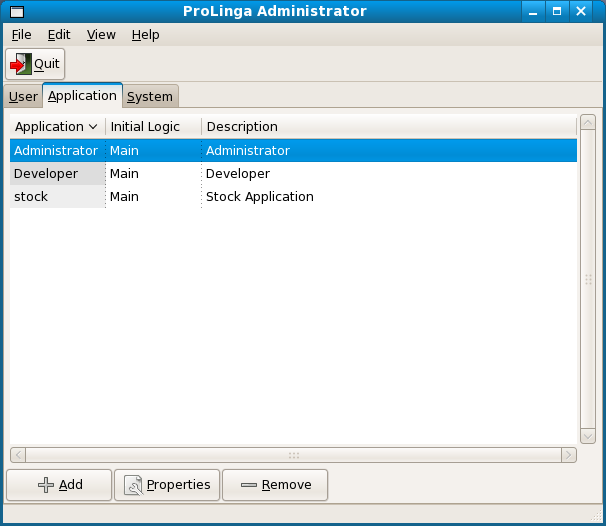
press the OK button. The Administrator screen will be displayed. Click on the tab
Application and a list of available applications will be listed.
Press the Add button and details of the new application can be added.
Application Name: The name of the application. Only use alphabetic (A-Z,a-z) and numeric (0-9) characters and avoid spaces and special characters.
Password: To protect your application from being accessed, a password can be set. Leave blank for no password.
Application Type: Select if the application will be an administrator, developer or standard application. Use standard for end-user applications. If you do do not understand this setting, choose standard.
Initial Logic Name: If an end-user starts your application, some point must be defined as starting point. This is called Initial Logic. This will be the first ProLinga code executed when starting your application.
Description: There are two types of descriptions possible. A short one that will be used in lists and a long one that can be used to provide more details. Any text is allowed for either description fields.
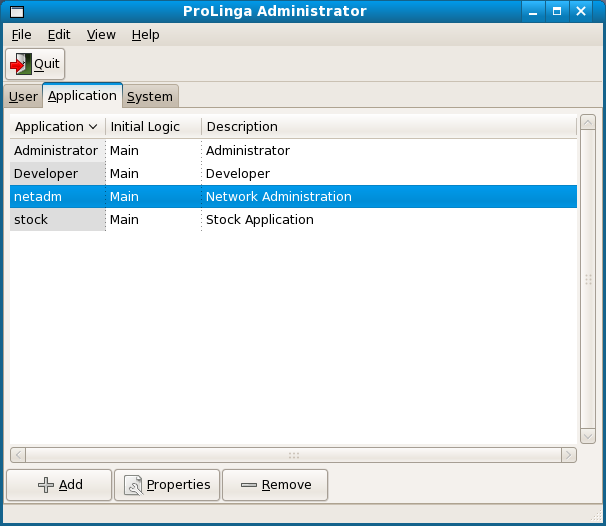
For our tutorial application netadm, use the following values:
Press the OK button and your new application now appears in the list with the others.
Have a further look in the Administrator. You will notice that there is a similar interface to add/modify/delete
users. In this tutorial we will refer to the default developer user developer and end-user
guest, so to continue this tutorial, there is no need to create any new users.
However in multi-developer environments, it is recommended to assign every developer
his/her own logon name. The same applies if there is more than one guest user on the system.
Logout (Pulldown menu File and then option logout) from the Administrator.
| << Create the data source | Open Application in ProLinga Developer >> |